
These Traditional Salt Dough Christmas Ornaments are not just adorable—they’re incredibly easy to make with just a few simple ingredients you probably already have in your pantry. They’re a charming addition to your Christmas tree and a heartfelt touch to any gift package. This timeless holiday craft is a fun activity and a cherished keepsake.

WHY YOU’LL LOVE THESE SALT DOUGH CHRISTMAS ORNAMENTS
With a handful of pantry staples, these salt dough Christmas ornaments are quick and easy to make, and the kids can get involved every step of the way. It’s a fun, memory-making activity—whether you join in on the decorating or simply enjoy watching their creativity shine as the ornaments come to life. Making these ornaments with my girls over the years has been such a joy, and seeing them on the tree each holiday season makes it even more special.
INGREDIENTS

MATERIALS
- Large Mixing Bowl
- Measuring Cup
- Food Coloring *optional*
- Wooden Spoon
- Parchment Paper
- Rolling Pin
- Cookie Cutters and Cookie Cutter Stamps
- Large Baking Sheet
- Mini Spatula
- Straws
- Acrylic Paint
- Paint Brushes
- Clear Top Coat Spray
- String
HOW TO MAKE SALT DOUGH ORNAMENTS


-
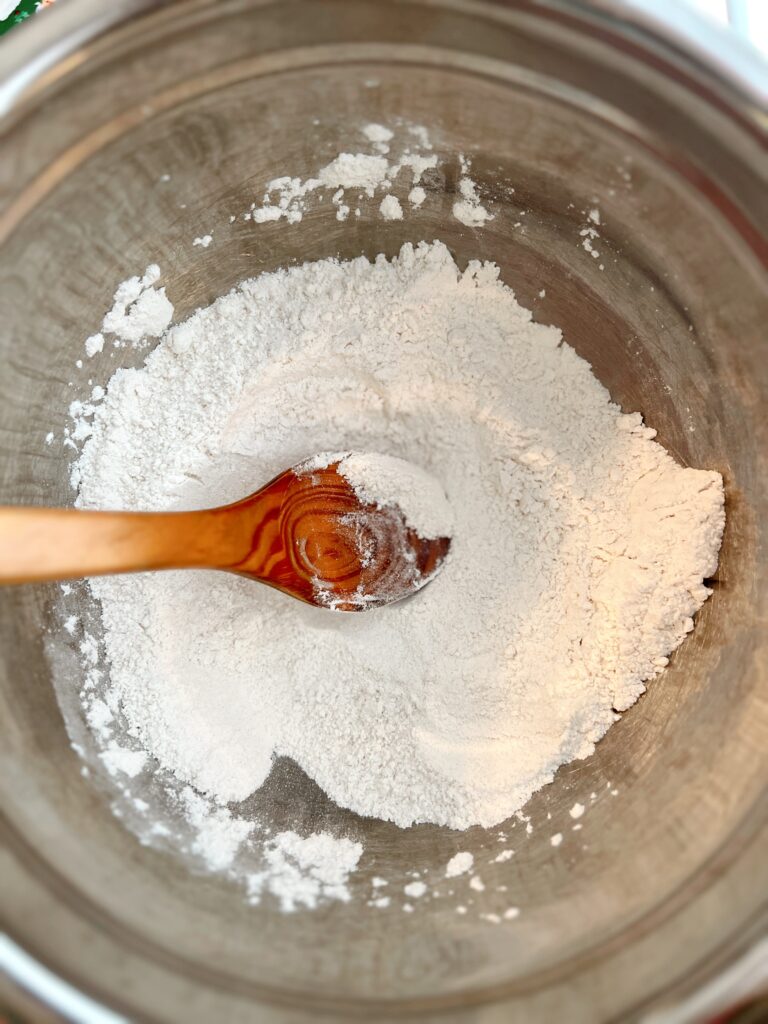
In a large bowl, stir together flour and salt.
-
Slowly add warm water to the flour and salt mixture.
-
*Optional* Add a tiny dot or two of purple food coloring to the mixture to bring out the white and offset the yellowish tint of the flour.
-
Stir to combine. The texture of the dough will be thick and a bit crumbly.
-
Scoop dough out onto a floured surface.
-
Knead the dough with your hands for a few minutes, or until it is soft and pliable.
-
Form dough into one large disc or divide into smaller discs. The smaller discs are great when you have children who want to roll out their own!
-
With a lightly floured rolling pin, roll the dough to 1/4-inch thickness.
-
Using your favorite cookie cutters, cut out desired shapes.
TIP: dip your cookie cutters in your bag of flour before cutting your dough. This helps prevent the dough from sticking to the cookie cutter. -
Using a drinking straw, press a hole into the top of the ornament. This allows you to run a string or ribbon through it later to hang your ornament or tie it on gift packages.
-
Using a floured mini spatula, place cut out shapes onto a parchment-lined baking sheet. Leave about an inch of space between cutouts.
-
Bake in a 225 degree preheated oven for approximately 2.5 to 3 hours. You need to keep a close eye on them and remove from the oven before they begin to turn brown.
-
Cool ornaments completely before decorating.
-
Using acrylic paint and glitter (if you dare!), decorate your ornaments. Use a clear sealer like Rustoleum Clear Coat or Clear Glossy ModPodge to protect the ornaments and give them a nice shiny finish.
-
String with ribbon or twine of your choice and hang on tree, add to packages or display in your own special place. Enjoy these little treasures!


TIPS & TRICKS
- When rolling out the salt dough, try to keep it as close to 1/4″ thick as you can. If the dough is too thick, the ornaments will take longer to cook.
- Cookie cutter stamps are great, if you have them in your collection. They create such cute designs on the ornaments and make them easier to paint for those of us who like to have a guide.
- My daughter and I agree that painting the edges of the salt dough ornaments gives them a more finished look!
- For those extra-special ornaments, like the hand or footprint ornaments I like to make duplicates to tuck away for safe-keeping. I treasure a set of handprint salt dough Christmas tree ornaments (see photo below!) that I made with my girls in 2020. I have one set that we use on the tree and another set tucked away in a drawer as a back-up set.


Traditional Salt Dough Christmas Ornaments
Materials
- 2 cups all purpose flour
- 1 cup salt
- 1 cup water warm
Instructions
- In a large mixing bowl, stir together flour and salt.
- Slowly pour in warm water.
- Add a tiny dot or two of purple food coloring to the mixture to bring out the white and offset the yellowish tint of the flour.
- Stir to combine. The texture of the dough will be thick and a bit crumbly.
- At this point, you'll want to scoop the dough out onto a lightly floured surface.
- Knead the dough with your hands on the floured surface for a few minutes until it is soft and pliable.
- Form into one large disc or divide into two smaller discs.
- With a lightly floured rolling pin, roll the dough out to 1/4-inch thickness.
- Dip cookie cutters into flour and press them into the dough to cut out desired shapes.
- Using a drinking straw, press a hole into the top of the ornament. You will run a string or ribbon through it later to hang your ornament or tie it on gift packages.
- Using a floured mini spatula, place cut out shapes onto a parchment-lined baking sheet. Leave about an inch of space between cutouts.
- Bake in a 225 degree preheated oven for approximately 2.5 to 3 hours. You need to watch them closely and remove from the oven before they begin to turn brown.
- Cool ornaments completely before decorating. Using acrylic paint and glitter (if you dare!), decorate your ornaments. Use a clear sealer like ___ or Clear Glossy ModPodge to protect the ornaments and give them a nice shiny finish.
- String with ribbon or twine of your choice and hang on tree, add to packages or display in your own special place. Enjoy these little treasures!
Leave a Reply